This 1 simple trick you can do yourself will help boost your SEO efforts for your business. The longer this trick has been implemented, the better it is. The way Google works is with age and relevance, and that’s what you’ll be hitting here. This won’t get you ranked for the most competitive terms in your industry, but it will make your site more relevant to your niche. Once it’s more relevant, through time you should see your business climb up in the search engines for certain keywords. To rank for the best keywords, you’d have to hire a professional SEO – but before then, this is still worth doing!
STEP 1 – Log into your WordPress site
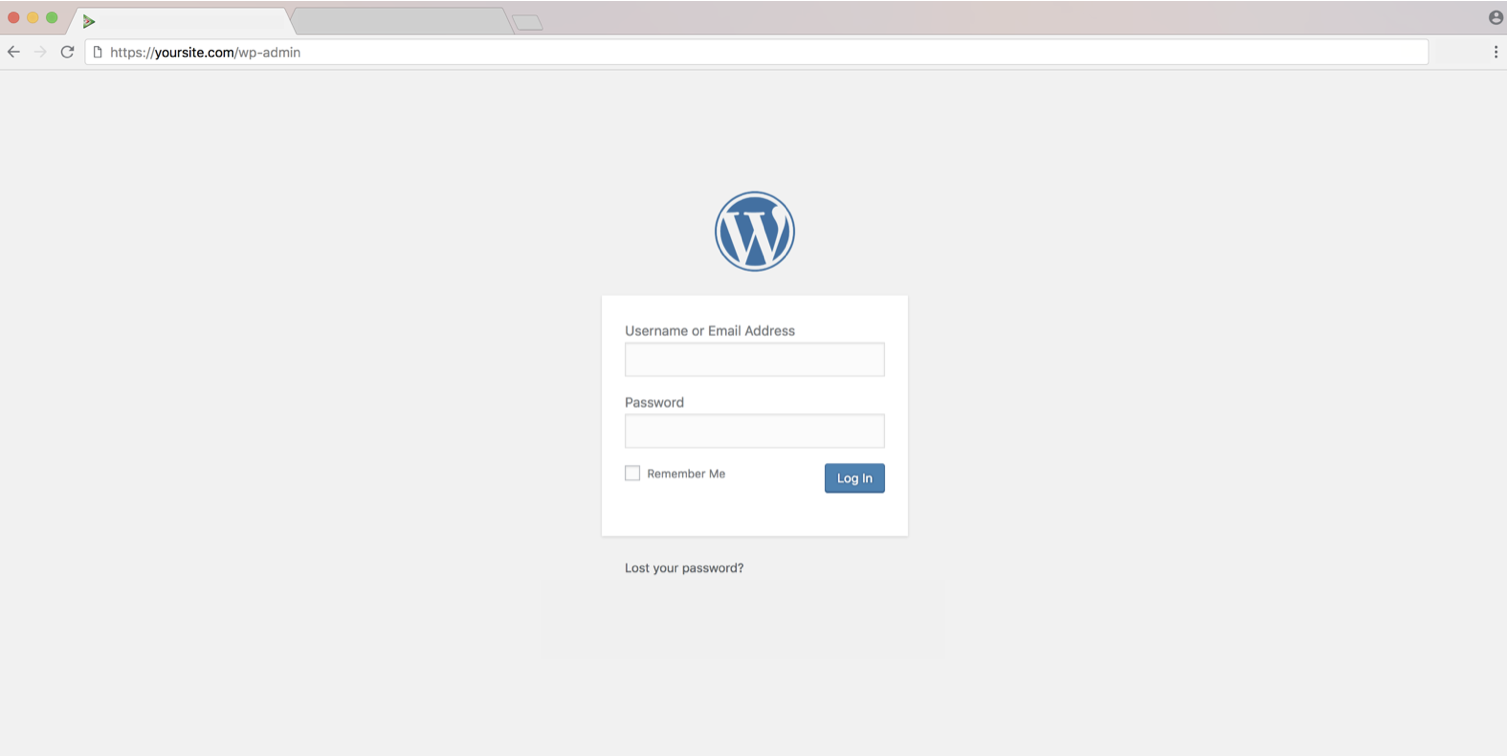
To log into your WordPress site simply type in your domain name and add /wp-admin at the end of the URL (example: www.yoursitename.com/wp-admin). This will bring you to the login screen like shown in the photo above. Enter your credentials and boom you’re in the backend of your website. You should have login credentials from your hosting provider or web developer.
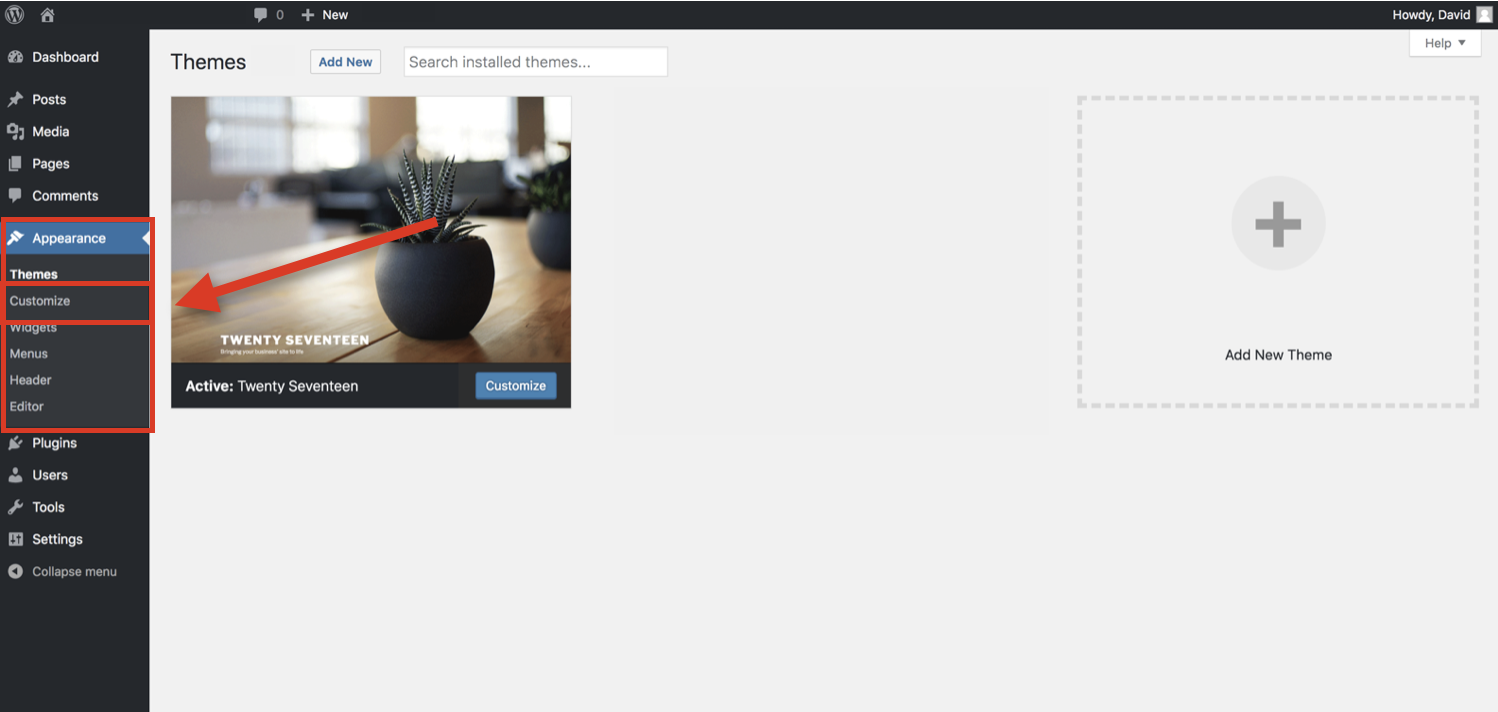
Once you successfully login the first thing you’ll see is your dashboard. Using the menu on the left side hover over “appearance” and click on “customize”, see photo below. This will bring you to the customizer where you’ll be able to add your site’s favicon and title.
STEP 2 – Add Logo and Favicon
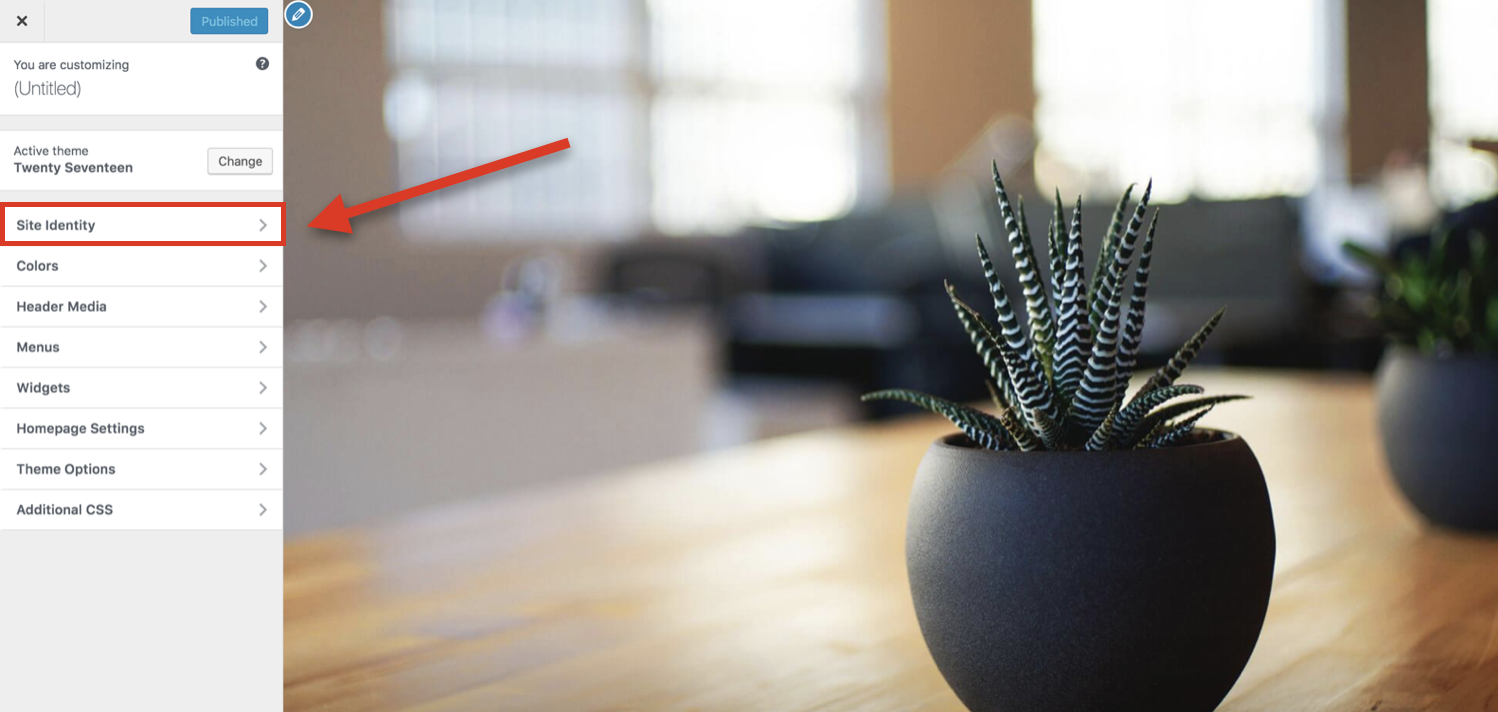
Once you get to this screen, click on “site identity” and that will bring you to the spot where you’ll be able to upload your favicon and logo (photo below).
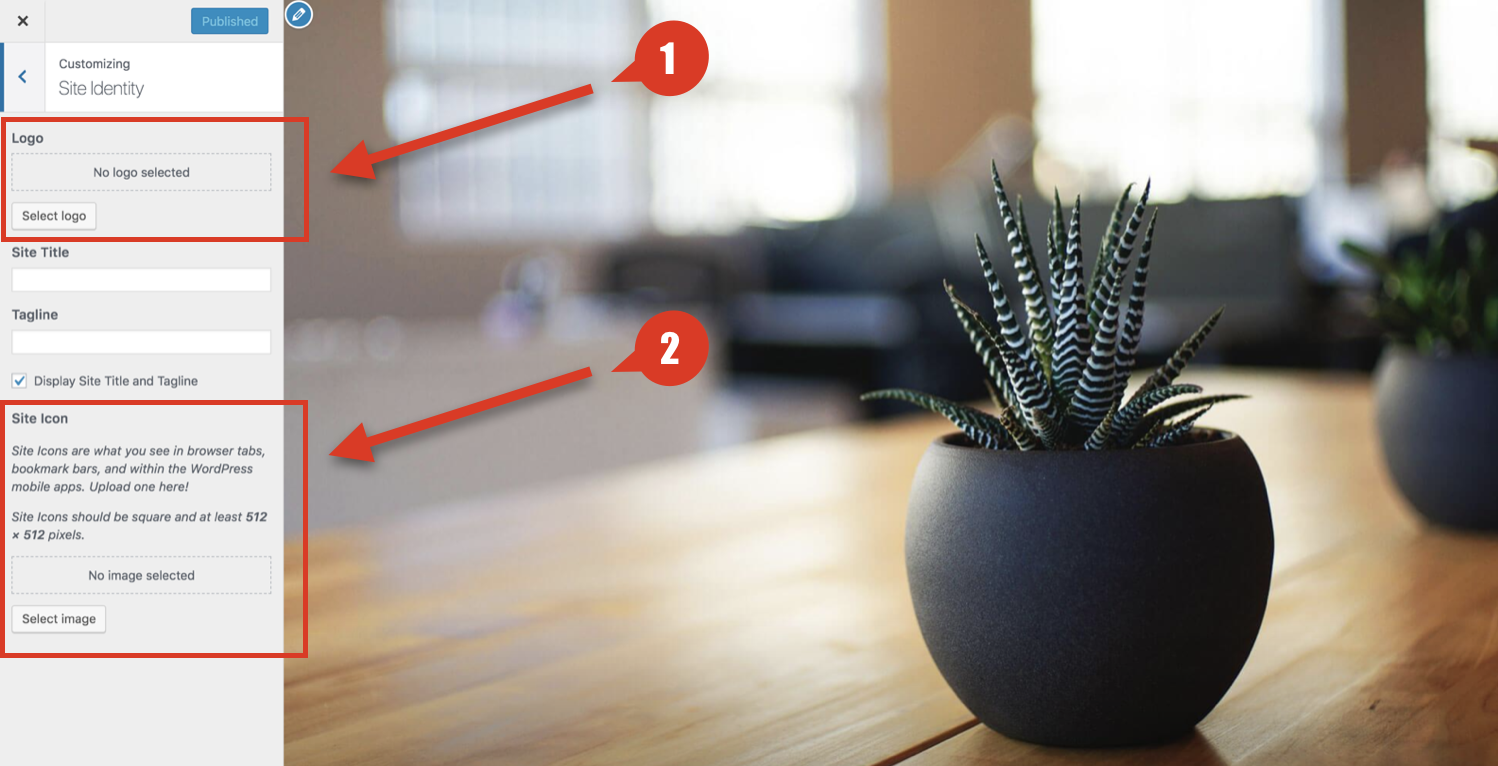
1. If you haven’t yet added your logo to your website. do so here. Be sure to upload a high quality image. Do not use a low resolution image of your logo and be sure to NOT title your logo image “logo”. You want to your logo image title to be your business name, this will give Google a good signal about the identity of your website. If you want to take it a step further, you can add a keyword to your logo image title for example “Digital Dynasty – Digital Marketing Experts Logo”.
2. Your “site icon” is the same thing as a favicon, upload your logo here too. You should follow the dimensions WordPress suggests, this will make your logo fit perfectly in the browser tab.
After you upload your logo on both sections make sure you hit “Publish” to save your settings. You can close the customizer now by clicking the “x” on the top left corner.
NOTE: As you can see in the photo above, you can add your site title and tagline. Although, I would suggest you don’t do it here, and instead do it in the area shown below on step 3 (WordPress general settings). The general settings has priority over the customizer settings (photo above) – anything modified in the general settings will overwrite what is in the site identity customizer.
STEP 3 – Add site title and tagline

1. From your WordPress dashboard hover over settings and click on “general”.
2. Once at the general settings add your site title, your site title should include your business name. You can also add the city you’re in, your phone number, a main service you offer or a keyword. Here’s an example “Digital Dynasty – Digital Marketing Experts”.
3. (optional) A tagline is not necessary but if your business has one be sure to put it in here.
Save all settings and you’re all set!
Hope this was helpful! 🙂